Make an Envelope Out of Origami Paper
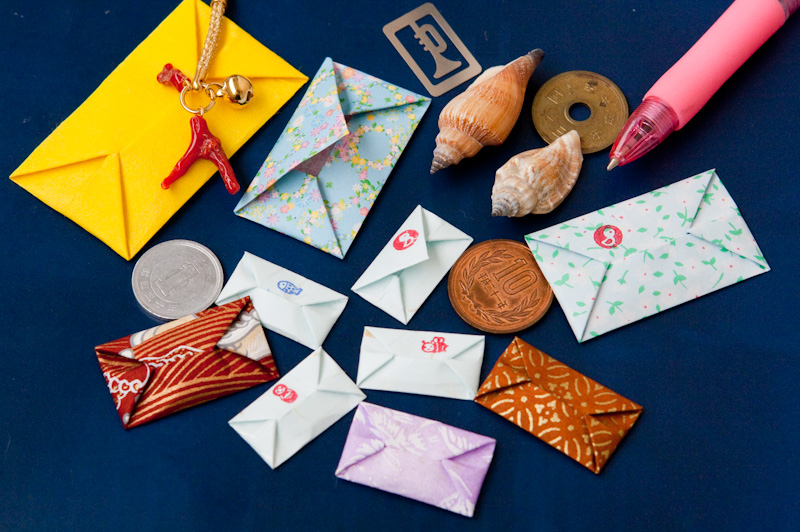
A plain envelope for a letter is bought at the post office, butNot every departure is worthy of a typical paper "pocket". Romantic messages and greeting cards are much nicer to receive in an exclusive envelope, lovingly decorated with appliqués and hand-painted. A beautiful festive envelope gives the first impression of a valuable investment. And to emphasize his quivering attitude towards the addressee, it is worthwhile to fold a pretty envelope of paper with your own hands, using the origami technique and your own imagination. 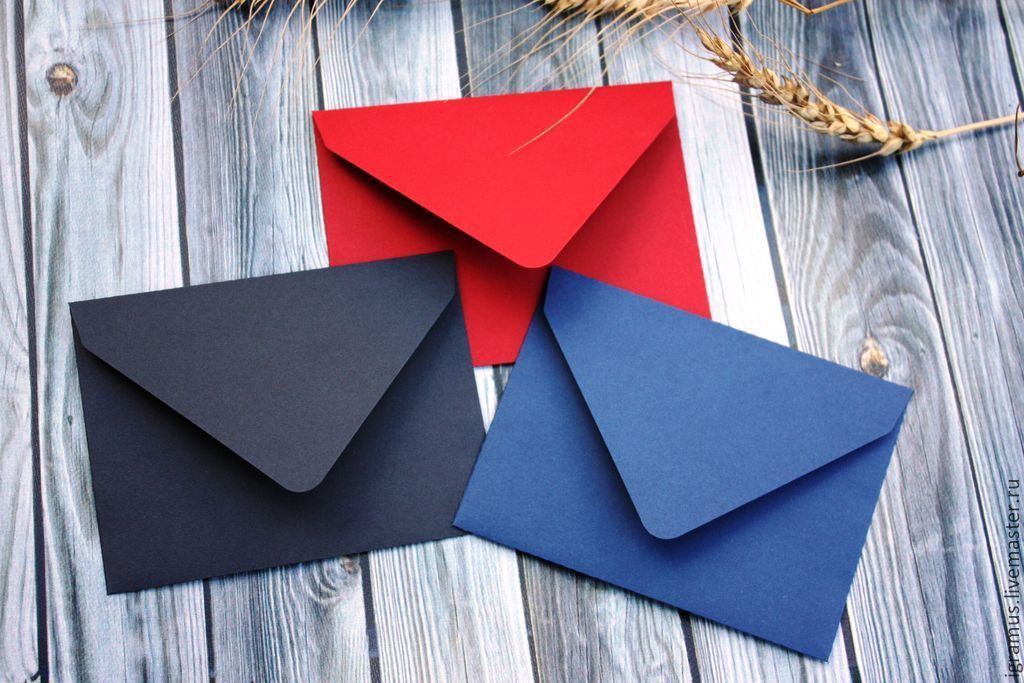 Homemade paper envelopes It should be noted thatA homemade paper envelope is also useful in everyday life. You can use the simplest "pockets" as an envelope for a disk or, for example, make an envelope for money and keep untouchable savings in it. Whatever goal you pursue, you will always have enough handy materials - sheet A4 (or other sizes), and self-adhesive stickers for sealing paper envelopes made by yourself.
 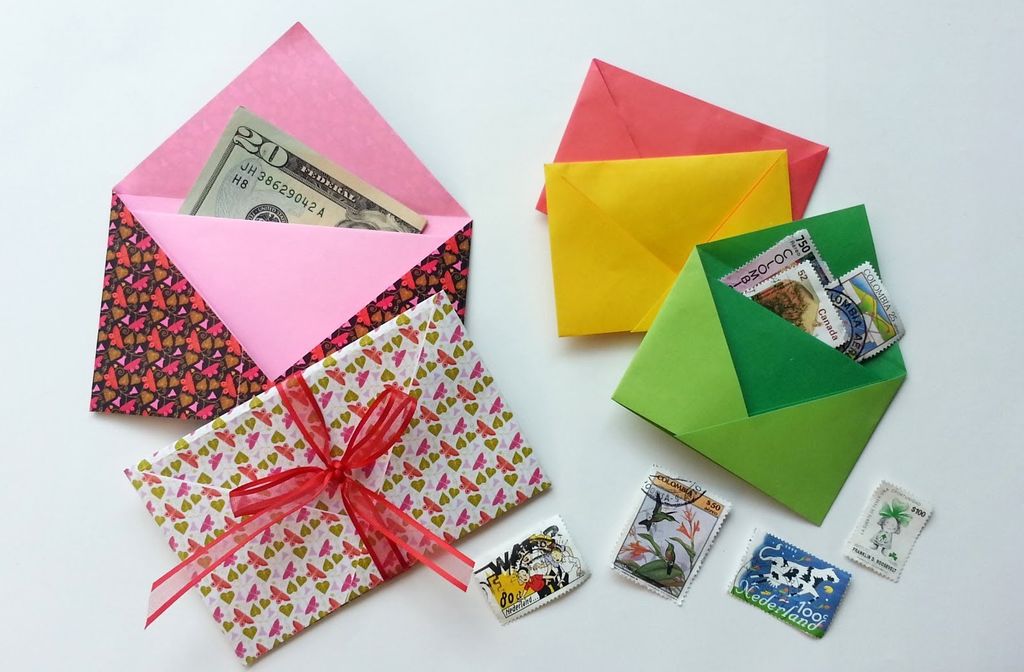 A homemade envelope can be used for any purpose!
Additional materials
Traditional art origami does not involveUse of other materials, except for a paper sheet. And indeed, in classical technology there are schemes by which a simple envelope of origami should be made of paper and only. It folds without glue and other fixing components. But following your creative plan (original appliqués, decorative ornaments), you may additionally need:
- Sheets of colored paper or paint, markers or variegated stickers;
- Bright beads and ropes, original buttons and other decorative gizmos;
- Scissors and clerical glue, a stapler or some post sealing wax;
- Any other decorations for a homemade paper envelope if desired.
Homemade envelopes for different situations
 To decorate envelopes, any materials are suitable! Option 1: the simplest rectangular or square envelope Following schemes 1 and 2, you can fold the simplest envelopes for postcards, photographs and letters. It's easy and fast, however, in order to avoid banality, use not plain, but colored paper. Or, pre-print on the printer sheets with original ornaments. Continue step by step instructions, referring to Figures 1 and 2 as needed.
 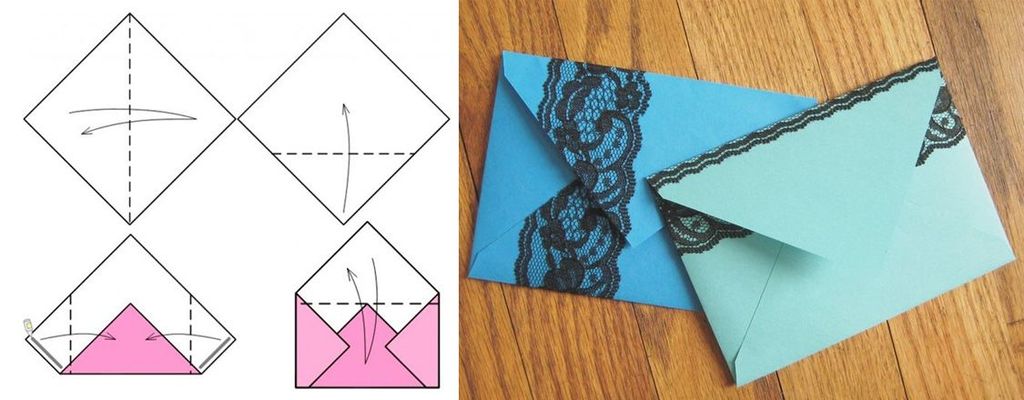 The envelope manufacturing scheme №1
 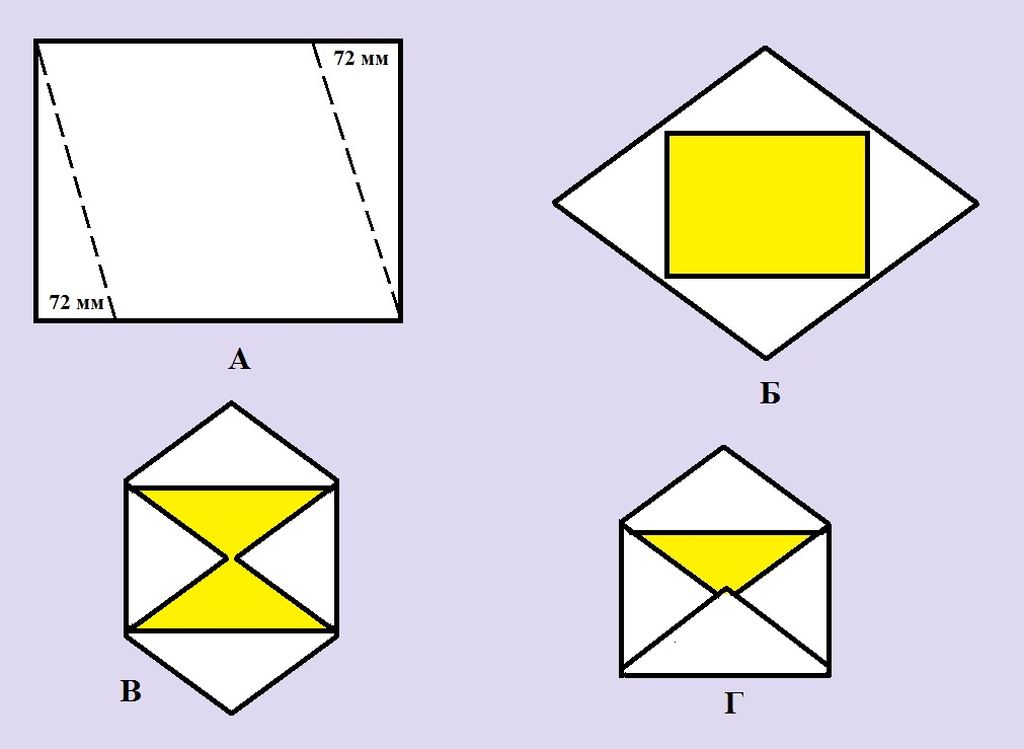 The envelope manufacturing scheme №2
- Take a paper sheet of the correct square shape;
- Fold the sheet on the diagonals - their intersection will set the center of the workpiece;
- Fold each corner of the sheet smoothly to the center, evenly bringing the edges together;
- Seal the envelope in the center, grabbing all the corners with a sticky sticker;
- Change the shape of the new envelopes, reducing the bends on the sides of the workpiece (see Figure 1).
Similarly, the envelope from the sheet is folded,Which is preliminarily given the shape of the diamond (see Figure 2). The corners of the sheet are evenly bent to the center and fixed with a self-adhesive sticker. By changing the uniformity of the bends, you can achieve the desired overlapping sealing envelope. Option 2: an envelope for money notes Having set out to make an envelope for money or CDs in a couple of minutes, you can use Scheme 3. You will need a standard sheet of A4 paper and a sticker for sealing. For banknotes, such a product will work optimally, and so that coins do not drop out of it, you can additionally flash the edges of the money "pocket" with a stapler. Using Fig. 3, in stages:  Scheme for manufacturing envelope №3
- Horizontally, place the A4 sheet in front of you;
- Fold it like a closed notebook, but not exactly in half - leave 2-3 cm of the sheet "walking";
- Unfold the workpiece, lay it vertically, bend the side restraints inward of the sheet;
- Again, fold the workpiece over the central fold by tucking the folds inside the envelope;
- "Walking" section of the sheet wrap to itself - it will close your envelope;
- Seal the envelope with a sticker, if necessary, sew the edges of the stapler (or glue along the seam from the inside).
Option 3: Without glue and stapler Quite intricately looks envelope in origami technique, made of a sheet of paper without the use of any extraneous "fasteners". Looking at Fig. 4, it can be folded and you, having spent only 2-3 minutes. On the entire folding process.  Scheme of making an origami envelope №4
- Fold a square sheet of paper diagonally, creating a triangular workpiece of the correct shape;
- Bend down one free upper corner of the workpiece (the second does not jam), equaling it along the lower border (see Figure 4);
- Then bend inside the side corners, boldly lashing one on the other;
- Lash back bend, along the edge of the center of the workpiece, from the resulting corner, form a pocket, gently opening a small bend;
- Fold the upper part of the envelope down, filling the sealing overlap in the resulting pocket, tightly squeeze the folds.
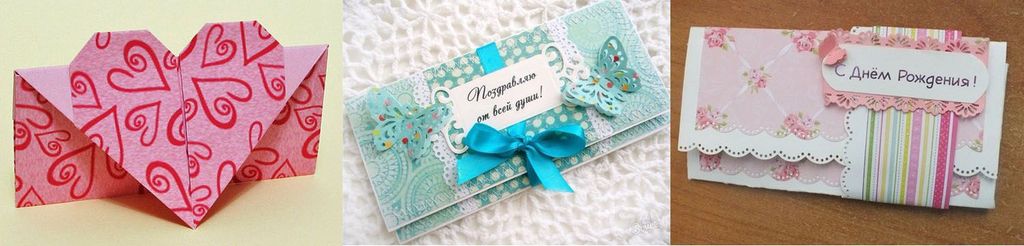
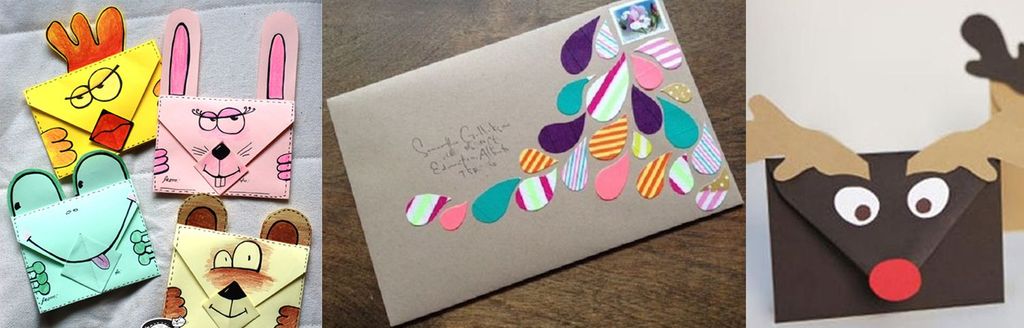
Heart "and other figurative options Not everyoneIt is known how to make an envelope of paper for romantic messages and pleasantly surprise the object of your adoration with it. But there is no special complexity here either. Step by step, let's look at how to fold a small envelope-heart. You need a preformed preform.  We make a heart envelope with our own hands
- Take a piece of paper in the shape of a heart (cut out by a pattern, you can draw by hand);
- Bend inward the sides of the "heart", then similarly enter the upper part of the workpiece;
- The lower "sharp" side is bent inside the latter (it closes your love envelope);
- The resulting rectangular envelope is sealed with a sticker, filled with sealing wax or tied with scarlet tape.
Would like to make an envelope of other bizarreForms? Then just use the templates of ready-made "pockets" for special letters. Simply print out the blanks on plain A4 paper, cut and fold over the traced edges - that's all. And if you decided to make a large envelope of paper for a grand congratulation, just transfer the ready-made templates to A3 (and larger). Do not forget to brightly decorate homemade paper envelopes with rhinestones, stickers, beads and appliqués - let it be the most memorable event of the upcoming holiday. An excellent companion for your gift can be paper roses or tulips made by yourself. 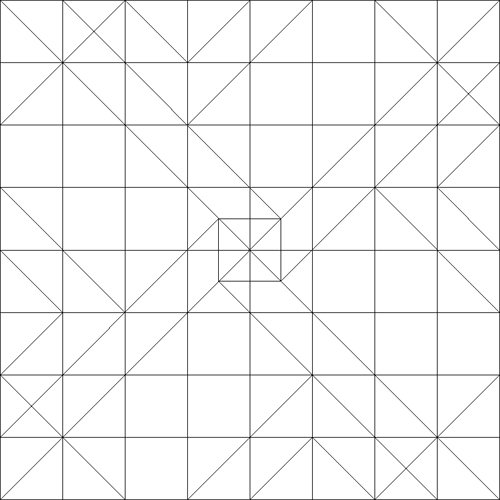
Comments
Make an Envelope Out of Origami Paper
Source: https://handmadebase.com/how-do-envelope-of-paper-its-p/
0 Response to "Make an Envelope Out of Origami Paper"
Post a Comment